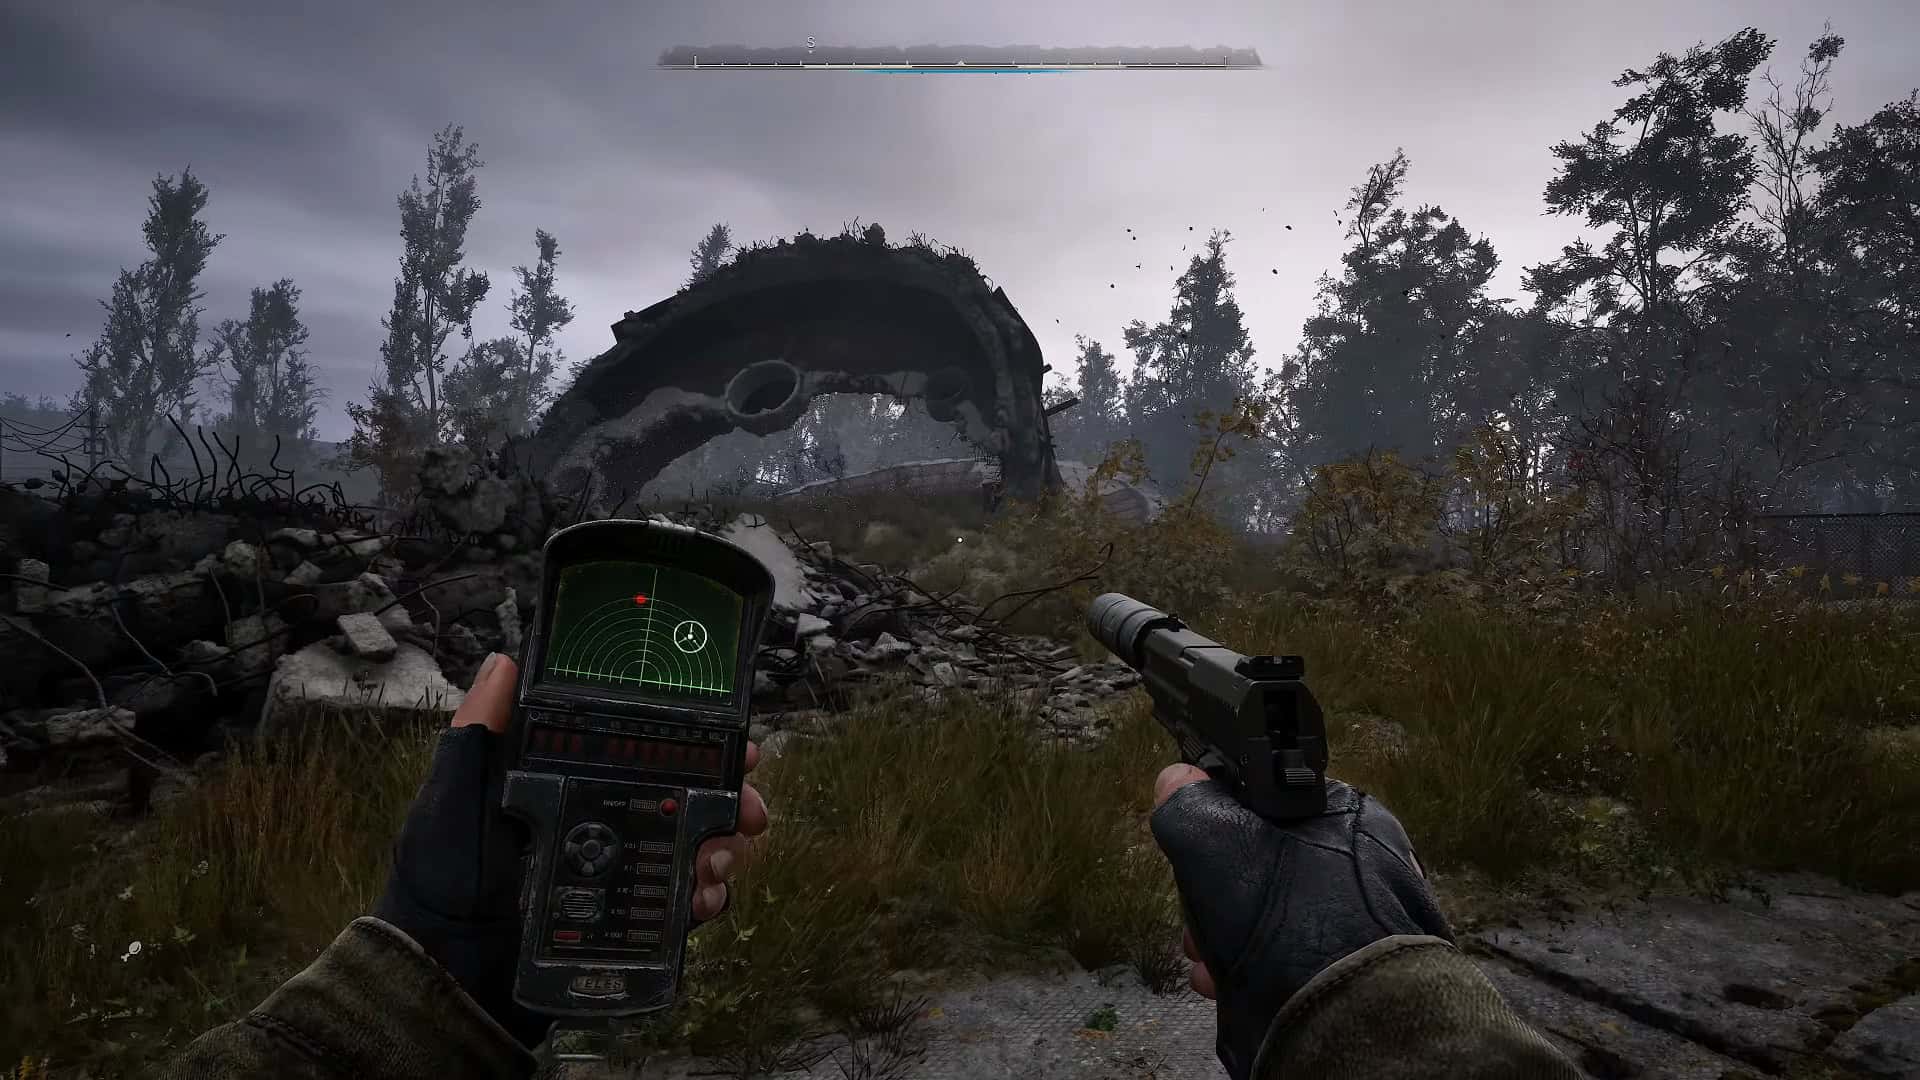
Stalker 2 finally hit the shelves earlier this year, and it’s quickly become one of the top first-person shooter games of 2024. In this guide, we’re diving into the side quest “Seek and You Shall Find”, which you can take on after finishing the first few main missions in the game.
This quest isn’t just about collecting items; it’s key to unlocking some of the best weapons in Stalker 2. While the general locations of the stashes are marked on your map, finding the exact chest can be tricky and time-consuming.
Don’t worry, though! We’ve put in the effort so you don’t have to. Here, we’ll walk you through where to go to collect all the stashes and get your hands on those top-tier weapons.
All Seek, and you shall find Journalist Stash locations.
Journalist Stash 1
To find the first stash, head to the central Stalker hub in Zalissya. Once there, look for an abandoned building with a blue truck parked right next to it. Run towards the front headlights of the truck and make a jump. If you time it right, you’ll land on the truck’s hood. From there, climb up to the main roof, then turn right and jump down to the smaller roof below.
Walk through the narrow gap, and at the end of the roof’s edge, you’ll find the blue chest waiting for you.
Journalist Stash 2
For the second stash, head southeast towards the Military Base, located near the Sphere. As you approach the area, be sure to take out the guard to avoid attracting attention from the soldiers, making it easier to slip in.
Once inside, walk through the main entrance and take a left. Don’t forget to crouch as you move. Continue past the brown brick building until you spot a ladder. Climb up, and you’ll find the second stash waiting for you.
Journalist Stash 3
To get the final stash, head northeast until you come across a large, almost-abandoned factory, guarded by bandits who will shoot on sight. You’ll notice a makeshift wooden structure attached to the main building. Walk around to the other side, and you’ll find a ladder.
Climb up to the main roof, then jump over to the smaller roof. The final chest will be waiting for you there.
We hope this guide makes your side quest in Stalker 2 easier to complete. We’ve put in a lot of effort to save you time, so you can focus on the action. If you run into any problems or need more help, feel free to leave a comment!


