Microsoft’s Mixer (formerly known as Beam) streaming service is actually really good. While it’s still relatively young compared to both Twitch and YouTube Gaming, it has a nice feature set going for it. Both the Faster Than Light (FTL) protocol, the interactive portions and first of its kind co-op streaming options are really slick. Still, the service still has ways to go, as several of their offerings are pretty lackluster.
One of which is the Videos on Demand or VODs. After you stream on the service, your video will be saved as long as it is over five minutes long. This is standard across the board with other service providers as well. However, Mixer offers service levels of their accounts; Regular, Pro and Partners. Both regular accounts and Pro (paid) accounts are only provided with 14-days of storage. While the partners get 90-days of VOD storage, yet there are some pretty hefty requirements to be considered for a partner account.
The problem I have with this is that even the paid pro accounts get the same amount of storage as the free accounts. Let’s be honest, 14-days of storage isn’t really a lot. So what do you do if want to keep those epic gameplay videos or you just want to retain your memories? That’s what we’re going to show you today.
*Keep in mind this will require you to download/upload multiple videos. If you are on a bandwidth cap, you may want to not proceed with this.*
- While this may seem like common sense, you’d be surprised with how many people have asked how do you retain your Mixer videos. To do this, you’re going to need to set up an account on YouTube. Yep, we’re basically taking your VODs from Mixer and transplanting them to YouTube. Once you’ve set up an account on YouTube, head back to Mixer. Login to your account as you can not download any VODs without doing so. Head to “manage channel” and then click on the VODs tab.
2. Here you’ll see all of your saved VODs on Mixer and each video will have an option to watch, download and delete. You’ll also see the dates of when that video is going to expire. The priority are those ending sooner than the rest. Download every video that you want to save. These can range from several MB to GB. It depends on the encoding that you streamed at. So if you streamed at 480p@30fps, it will be smaller than say a video recorded at 1080p@60fps. If you have several larger videos, the download may take a while. Again, if you’re on a capped data plan, you may want to hold off on doing this.
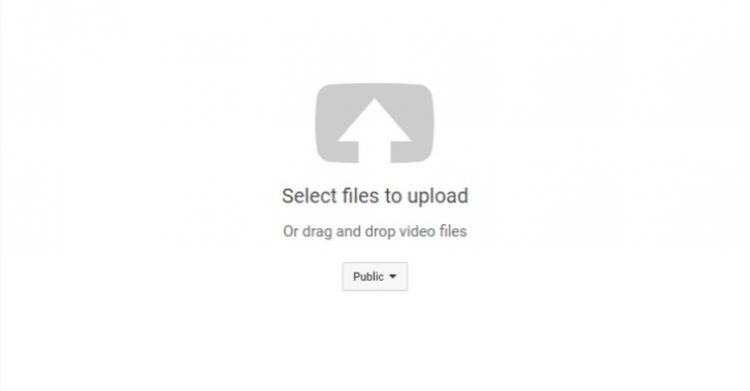
3. Once the videos are downloaded, we’re going to upload them to your newly setup YouTube channel. Head over to YouTube, make sure you’re logged in and click on the upload icon. You’ll be sent to the uploaded screen, where you can either drag your video or videos over to it or click to browse for them.
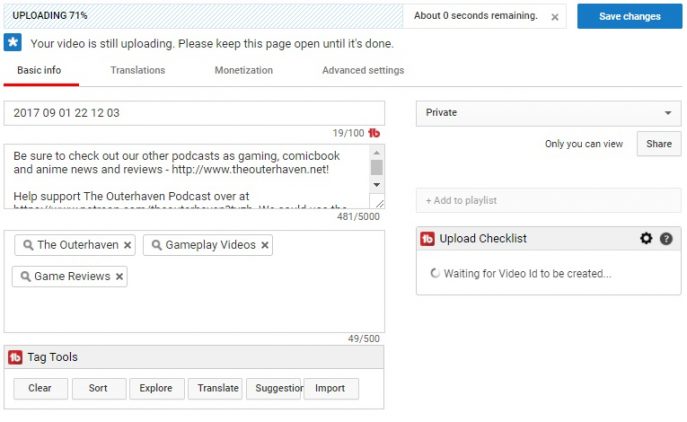
4. While your video is uploading, you’ll have the option to give it a different title name, a description, and tags. Otherwise, it will default to the name of the file that Mixer provided. So it’s a good idea to edit it. Just be sure to click “save changes” when you do.
5. Once the video has been uploaded and processed, it will be saved on YouTube. You can also change the status to private or unlisted if you want to share the link to a few select individuals.
That’s all it takes to transplant your VODs from Mixer over to YouTube. The process is pretty easy and depending on the size of your videos, fast. Hopefully going forward, Mixer, will give the option for a long storage duration for VODs on the service. And while we’re talking about VODs, I’d love to see an option to upload VODs onto the service as well.
If you have any thoughts or ideas for the service, send them over to Feedback.mixer.com.


